Thursday, 10 October 2013

Choux

Profiteroles
 
Choux (pronounced 'shoe') pastry is one of those versatile items that every budding chef should have as a part of their repertoire.  There is so many things that can be made with them:
  •  Profiteroles and eclairs when stuffed with pastry cream
  •  Croquembouche
  •  Crullers
  • Beignets when fried
  • St Honore Gateau when topped with cream
  •  Paris Brest when ring shaped and filled with cream (this was developed by a patisserie chef who lived near the Tour de France route and made the bicycle wheel shaped cake in the race's honour)
  • Religeuses when coffee flavoured
  • Gourgeres when filled with cheese and savory fillings
White Choc Eclairs
  
The origins of choux began with the head chef of Catherine de Medici, she was the Italian woman who married a French King and took her entire court with her to France when she moved.  In 1540, Chef Panterelli invented a cake named Pate a Panterelli which used a hot pastry.  Chef Avice made various variations and produced Choux buns, named because they resembled cabbages (Choux being the french word for cabbage).  It was Antoine Careme in the 19th century who perfected the recipe to what we use today.


Choux pastry has no rising agent. As it is a moist dough, steam is used as the leavener, which is why you cannot open the oven door whilst they are baking.

Dry ball of pastry
 
The process begins by combining the milk, butter, salt and sugar in a saucepan. Bring it to the boil.  Remove from the heat and add in the sifted flour.  Mix well and place it back on a medium heat.  Cook the dough, stirring with a wooden spoon until the dough resembles a dry ball.

Transfer the dough to a bowl.  Add the eggs, one at a time, mixing well between each addition.


 In order to shape the dough, place it into a piping bag with a large nozzle attached.  In these examples, I shaped round balls for profiteroles and long sausage shaped dough for eclairs.


Bake in a preheated oven for 30 minutes at 190 degrees Celcius.  Turn down oven to 150 degrees Celcius and bake for a further 15 minutes.

Cool on a wire rack, fill with cream of your choice and top with chocolate. A french patisserie chef who lives in Perth gave me a hint that I will share with you..if you slit the choux as soon as they come out of the oven, it allows the steam to escape which means you are not left with soggy pastry.

Initially, I sliced my choux down the middle and sandwiched cream between the two layers.  This proved to be very messy when eating them.  
Sandwiched creme

How the professionals fill them


When I consulted with my local choux specialist, I found them to be piercing the whole choux and piping cream into the pastry.  The commercially made choux were very light and fluffy, as were mine.  Their pastries were decorated beautifully, whereas mine could have been better topped, but when it came to the filling, my creme patissier was creamy and tasted of vanilla.  The store bought choux cream filling tasted eggy.

Mim made

Store Bought


Well, there it is.  Here are the ingredients for you all to try:

200 ml full cream milk
90 g unsalted butter
1 tsp salt
1 tsp sugar
120 g plain flour
 3 eggs


Well, there's nothing left for you all to do but have a go yourselves, and you too can enjoy the fruits of your labour!

Taste Testing

Saturday, 28 September 2013

Brioche


Brioche


A classic french bread..rich, slightly sweet with a soft golden crust and yellow buttery crumb..its delicious!


It is widely eaten in France with a milky coffee or hot chocolate for breakfast.


 Brioche originated in Normandy over 500 years ago when decadence was the order of the day.  During this time, lavish and extravagant french banquets were the norm, and butter was incorporated into foods, including its inclusion into bread.


The word Brioche is derived from the verb "brier" to knead, which is ironic because I hardly kneaded it (thank Kitchenaid for mixers!).  It mimics bread, but is technically a pastry because eggs, milk and butter are used in large amounts.


The use of these ingredients produces a very soft, moist dough that is unlike any other I have worked with.


Very soft dough

Begin by using the hook attachment on your mixer, if using one.  Place flour into the bowl and make a well in the center.  Add yeast and half of the milk.  Use a little of the flour in the bowl to cover over the wet ingredients.  This allows the yeast to begin activation.  Once bubbles form, add the sugar, salt and eggs, one at a time, mixing well between each addition.  Add the rest of the milk and also mix well.
Mix on low speed, making sure to stop the mixer and scrape the dough off the hook attachment after 5 minutes.  Continue mixing until consistency is smooth and elastic.
This is why you need to scrape the hook!
Add the butter, a little at a time and mix on medium speed.  Turn the dough onto a lightly floured bench and (my favorite part) slap it hard onto the bench.  This smacking of dough onto the bench expels any air the yeast may have formed.  Do it six times.
Place dough into a large bowl, cover it and allow it to double in size.  Once this occurs, take it out and smack it onto the bench another six times.


Wrap it in plastic and leave it in the fridge overnight.
 
Tucking in the dough..goodnight...

 
Next, preheat your oven to 200 degrees Celsius.  Lightly grease brioche moulds or tins.  I used some brioche moulds and muffin tins..the results were asthetically different, but it did not affect the outcome otherwise.

Using tins and moulds


Break the dough into ten pieces and roll into shapes.  Whilst in France, I found what I called "the snowman" shape was the most popular, so I emulated this shape. 

Place the dough into the moulds or tins and allow them to rise, uncovered until doubled in size

Rolling portions into snowmen

Once they have risen, brush them in egg wash and bake for 10 minutes.  Reduce the oven temperature to 180 degrees Celsius, turn the brioche upside down in their tins and cook for a further few minutes, allowing them to cook through.

Some Brioche are turned, others are not


To check if cooked, either use the skewer test or rip the  head off one of the snowmen to peek inside.

Cinnamon and glazed
 The local variations are many and include fillings such as chocolate or almonds or toppings such as orange glaze or sugar and cinnamon.
Chocolate drizzled brioche

Brioche can be made into individual portions,in a braided loaf or into a ring. Personally, prefer the individual sized portions, but it can be used to make a wonderful french toast or in a bread and butter pudding...the possibilities are endless!


Store bought on the left....
When I compared my Brioche to one bought from a French bakery (not to blow steam up my own bum...) I found my attempts to be more cake than bread, sweeter and smoother.  Maybe they skimp on the butter when making them commercially? I'm only speculating...


Well, there you have it folks...Brioche!  The recipe quantities are as follows:

500g plain flour
15g dried yeast
200ml lukewarm milk
1 egg yolk
65g sugar
1 tsp salt
2 eggs
250g unsalted butter, at room temperature
egg wash (1 egg, 1 yolk and 50ml milk beaten together)


Tuesday, 17 September 2013

Nougat

Nougat


Nougat is a dessert which holds great significance for me.  I can take a bite into the gooey goodness and instantly be transported back into my childhood.  My father used to bring home bite sized pieces of nougat for me when I was pre school and l loved it...still do!  


Ingredients
The origin of the word nougat comes from the french expression "Tu nous gates" (You're spoiling us!) And if someone has made you nougat, they really are!

As this picture depicts, there are not very many ingredients required to make nougat.  Unfortunately, this does not mean that its easy  to make.  Quite the contrary!

From Provence, the tradition of nougat as a sweet served at Christmas goes back 400 years.


To begin, prepare your trays by spraying them with oil and lining them with foil and edible rice paper.

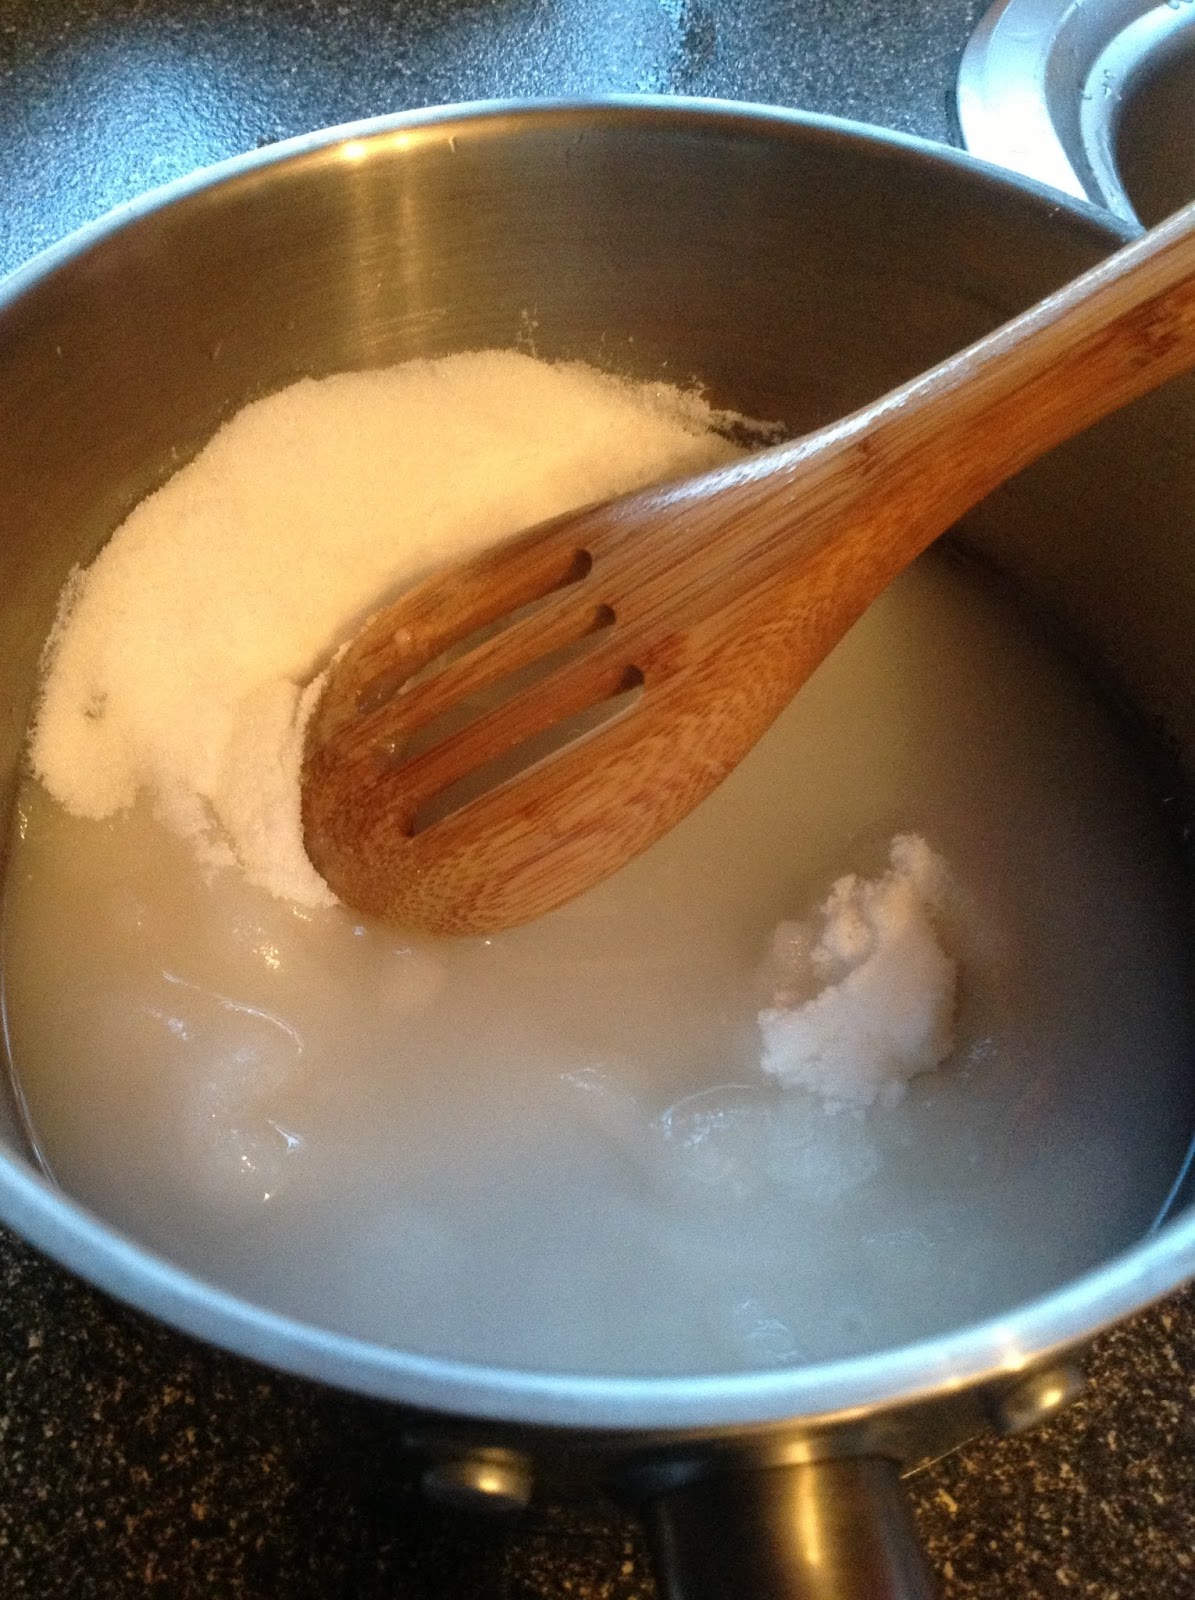
Next,  mix the sugar, water and glucose syrup in a medium pot on the stove top.  Glucose syrup is very viscous, so heat it in the microwave for 40 seconds to make it easier to pour out. Glucose syrup prevents crystalisation of the sugar.

Add two egg whites into the bowl of your mixer and allow them to reach room temperature.  Also, fill your sink with cold water.

Keeping an eye on the temperature is imperative.  When the sugar mix reaches 120 degrees Celcius, turn on your mixer to a medium speed and beat the egg whites to form soft peaks.

Once the sugar mix reaches 140 degrees Celcius, take it off the heat and place the saucepan into the filled sink until the mixture stops bubbling.  Immersing the pot into cold water stops the sugar mix from cooking further.


On the stove top
Bring to the boil
Monitor temperature

Next, pour the sugar mix into the egg whites in a slow and steady stream. Beat the mix slowly for light and airy nougat or on medium heat for a more dense finish.  A vapour will form around the mixer bowl.  This is normal, just keep pouring in the sugar mix.  Once the sugar mix is incorporated, add the vanilla essence as well as any fruit or nuts you wish to use and mix for another 30 seconds.

Resting in tray
  At this point, it is very important that you work fast.  Turn off the mixer and remove your bowl.  Using a pastry scraper, scrape the nougat into your prepared tray.  Top with further fruit and nuts, edible rice paper and a piece of baking paper that has been sprayed with oil.  Allow to rest at room temperature for 6 hours.


Once the nougat has rested, take it out of the trays and place onto a chopping board.  Fill and boil your kettle.  Using a large knife that has been plunged into boiling water ( I pour boiling water onto the blade for 10 seconds and dry it before using it), cut the nougat into desired sized pieces.


Bars wrapped and packed
The first time I made nougat, I made the mistake of placing the cut pieces into a container as they were.  When I opened the container the next day, all the nougat had oozed and was all stuck together. 
 I have tried wrapping nougat in plastic wrap and then had issues with nougat sticking to the plastic.  The best option I have found is to use baking paper that has been lightly sprayed with oil.  

The combination of ingredients can be as wild as your imagination!  My favorite is sour cherry, cranberry and pistachio, although, I did make a batch of dried fig and almond which is now a contender for first place...get creative!

Here are the ingredient quantities:

2 egg whites
2 1/2 cups sugar
1/3 cup water
500 g glucose syrup
1 tsp vanilla essence
Nuts and fruit of choice 

Sunday, 1 September 2013

Claufotis


Claufotis

Pronounced "clau" as in cloud minus the d and "foi" rhyming with boy, this flan style dish dates back to 1866 from the Limousin region.  It is a peasant dish that was made during the cherry season.

These days, every part of France has its own version, using fruits such as apricots, apples, plums and pears, whatever fruits are in season.

Traditionally, cherries were used with the pits intact, as it was stated that they pits added a bitter, almost almond flavor during cooking.  Some areas add a dash of armagnac or rum to the mix.


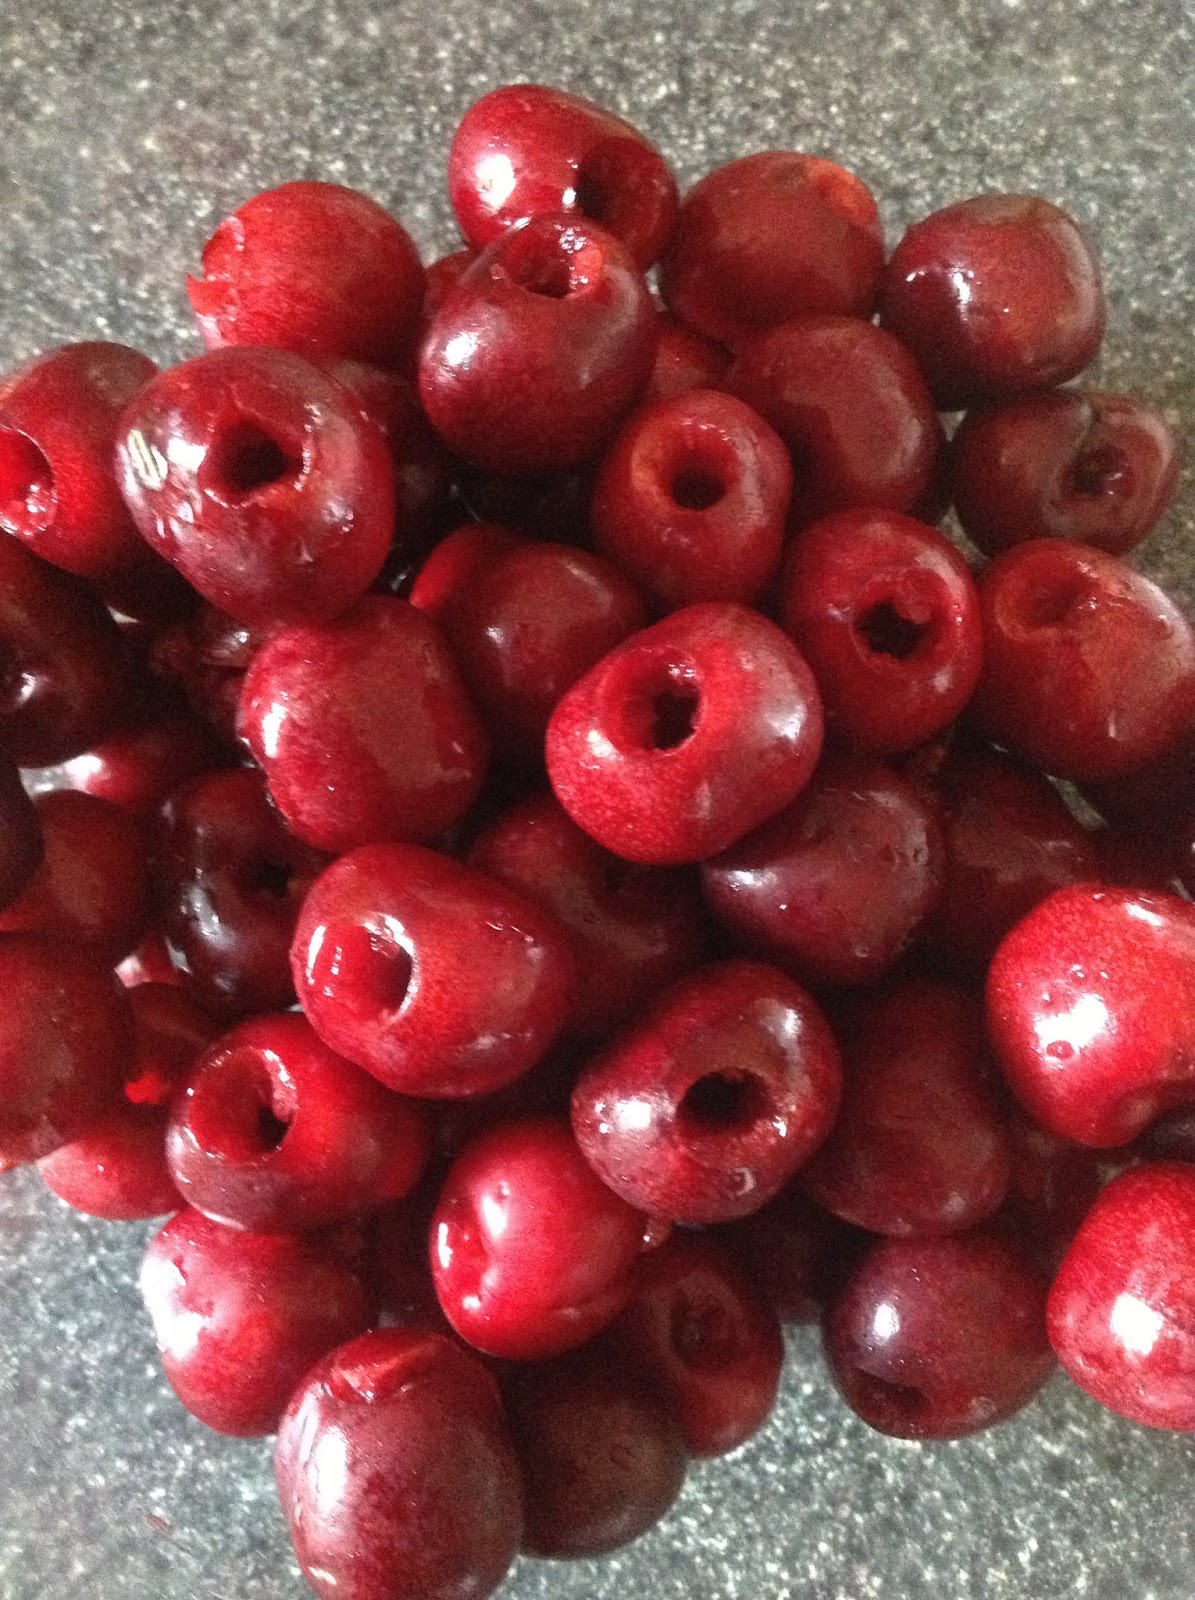
Pitted cherries
In my first attempt, I decided to pit the cherries so that I could try the task of pitting cherries (I've never pitted anything before) and so that guests did not have to spit the pits out. 


Pitting the cherries was a messy task, and a lot of the juice was lost during this process.  I can see why the pits were traditionally left in.  Much of the flavor would be lost if the cherries were pitted.


Claufotis is basically a batter that is baked with fruit mixed into it until it resembles a baked custard. It is served either warm or cool with a creme anglaise after being dusted in icing sugar.


First Attempt


Some of the tips and tricks out there include dusting the cherries with flour before adding them to the batter.  This stops them from sinking to the bottom of the dish, a tip that proved very useful.


Another is to pour 5cm of batter into the dish you plan to use and place it on the stove top until a film of batter has set in the bottom of the dish.  This is meant to aid the baking process, but I did not find it useful.

First attempt post baking


The first attempt was not good.  The flavor was great but I think I added too many cherries.  Also, the dish I used, whilst it was an appropriate size for the amount of batter the recipe yielded, was too deep.


I had to add a further 15 minutes to the cooking time, and left it in the oven whilst it was switched off and still warm.  Even with these modifications, the center of the claufotis was considerably softer than the outer rim.


Second attempt


My second attempt produced a smoother batter and I managed to remember to use less cherries.  As I had already pitted all the cherries I'd bought, I used pitted cherries for this batch too.


I also changed the dish I was to bake it in, using one that was more shallow.  As this left me with some batter, I decided to see how the claufotis would fair as an individual sized dish.  


Second attempt large size


The large dish turned out great.  The inner portion was less brown, but set beautifully with a custard like consistency.

Individual Portion


The smaller pudding also turned out great.  If anything, I filled the dish too much which caused the pudding to overflow.

Perfect Consistency


The claufotis is done when it is puffed and brown and a knife plunged into it comes out clean.  

Whilst I enjoyed learning this dish, it is not technically challenging.  It really is a peasant dish, the kind of dish you would make on a lazy winters day.  

Ingredients:

125 g plain flour, sifted
125 g corn flour, sifted
5 eggs
2 egg yolks
200 g caster sugar
250 ml milk
250 ml thickened cream
500 g pitted cherries
sifted icing sugar to top

Method:

Preheat the oven to 180 degrees Celcius.  Grease and flour an ovenproof dish.

Mix the flour and cornflour a large bowl.  Make a well in the center.

Beat the eggs and yolks together and pour them into the well.  Add the sugar and combine all the ingredients slowly.  

Add the milk and cream and mix to form a batter.

Pour the mixture into the dish.  Sprinkle the cherries (dusted with flour) into the batter.

Bake for 40 minutes, until a light golden color.  Allow to cool, then dust with icing sugar before serving.


Friday, 23 August 2013

Macarons

Macarons


Mastering Macarons is a hurdle one must jump in order to qualify as a french patisserie chef, even an amateur one.  This became very evident to me in my travels around France.

Macaron Towers in Paris
Macarons have become so popular, they've overrun the cupcake!  Although I was aware of their existence, I never paid them much attention.  It wasn't until I tried them that I fell in love! They were everywhere and  it was hard to avoid them. My expanding waistline was testament to that!

Falling in Love...

Macarons are one of those things that evolved over time.  The story begins when Catherine de Medici of Italy married King Henri II of France.  When she moved to France, she brought her pastry chefs with her (my kind of lady!).  Here, the introduction of almond meal based pastries were introduced.  

They were turned into biscuits by two Benedictine Nuns who baked them in order to support themselves during the French Revolution.


In 1901, Pierre Desfontaines of cafe Lauree took two of these cookies, filled them with ganache and gave us the macaron as we know it today!


These petit fours (small baked pastries) are one of the hardest things to make!  They are very temperamental and have many crucial points where attention must be paid. 

Specialty Macaron bakery in Tours


When you look at the ingredients, it all looks quite simple... its not. Here's a run down of the ingredients and the complexities pertaining to them:

Almond meal: No dramas here, except its expensive.  No wonder they charge over $2.50 a pop for them! I have made it myself without any issues..peeling almonds is no fun after the first 200 grams.

Egg whites: there are many theories relating to how old the egg whites ought to be.  I've used both old and new eggs with the same results.  When I compared cold versus room temperature whites, those at room temperature produced a better yield.  

Caster sugar:I always weigh rather than measure my sugar.  Some recipes ask that you add the sugar gradually.  I've found it makes no difference.  Just dump it in at the start.

Icing sugar: Once again, weigh don't measure.


 Tant pour tant
The first thing I do is make the tant pour tant (one for one).  This is basically combining the almond meal with the icing sugar.  the smoother the mix, the smoother the batter and therefore the surface of the macarons.  I achieve smoothness by processing the mix for 2 minutes and then sifting it twice.


Meringue
 
Using a mixer has made this process so much easier!  I start by adding the sugar to the egg whites (at room temperature) and mix them together, starting at a low speed  and increasing the speed every two minutes.  After 8 minutes of mixing, stiff peaks should form.  A good guide is to remove the whisk attachment and place it over your head.  Any meringue attached to it should not drip in the slightest.  When you get to this stage, add your chosen colouring and mix for a further minute on top speed.

Meringue


Macronage
Testing the batter
The process of mixing the meringue with the tant pour tant is the most important step.  Overmix and the batter becomes too runny, leaving you with flat macarons with no feet (the little edge that forms on the base of the biscuit).  Undermix and you end up with rough, poorly formed biscuits

The secret is to mix until the ingredients are just incorporated and any colouring added is even and uniform.  A method in which to test if it is ready is to lift some batter out of the mix and let it fall back in the bowl.  It should take 30 seconds for the fallen batter to re-incorporate into the rest of the batter.


Piping
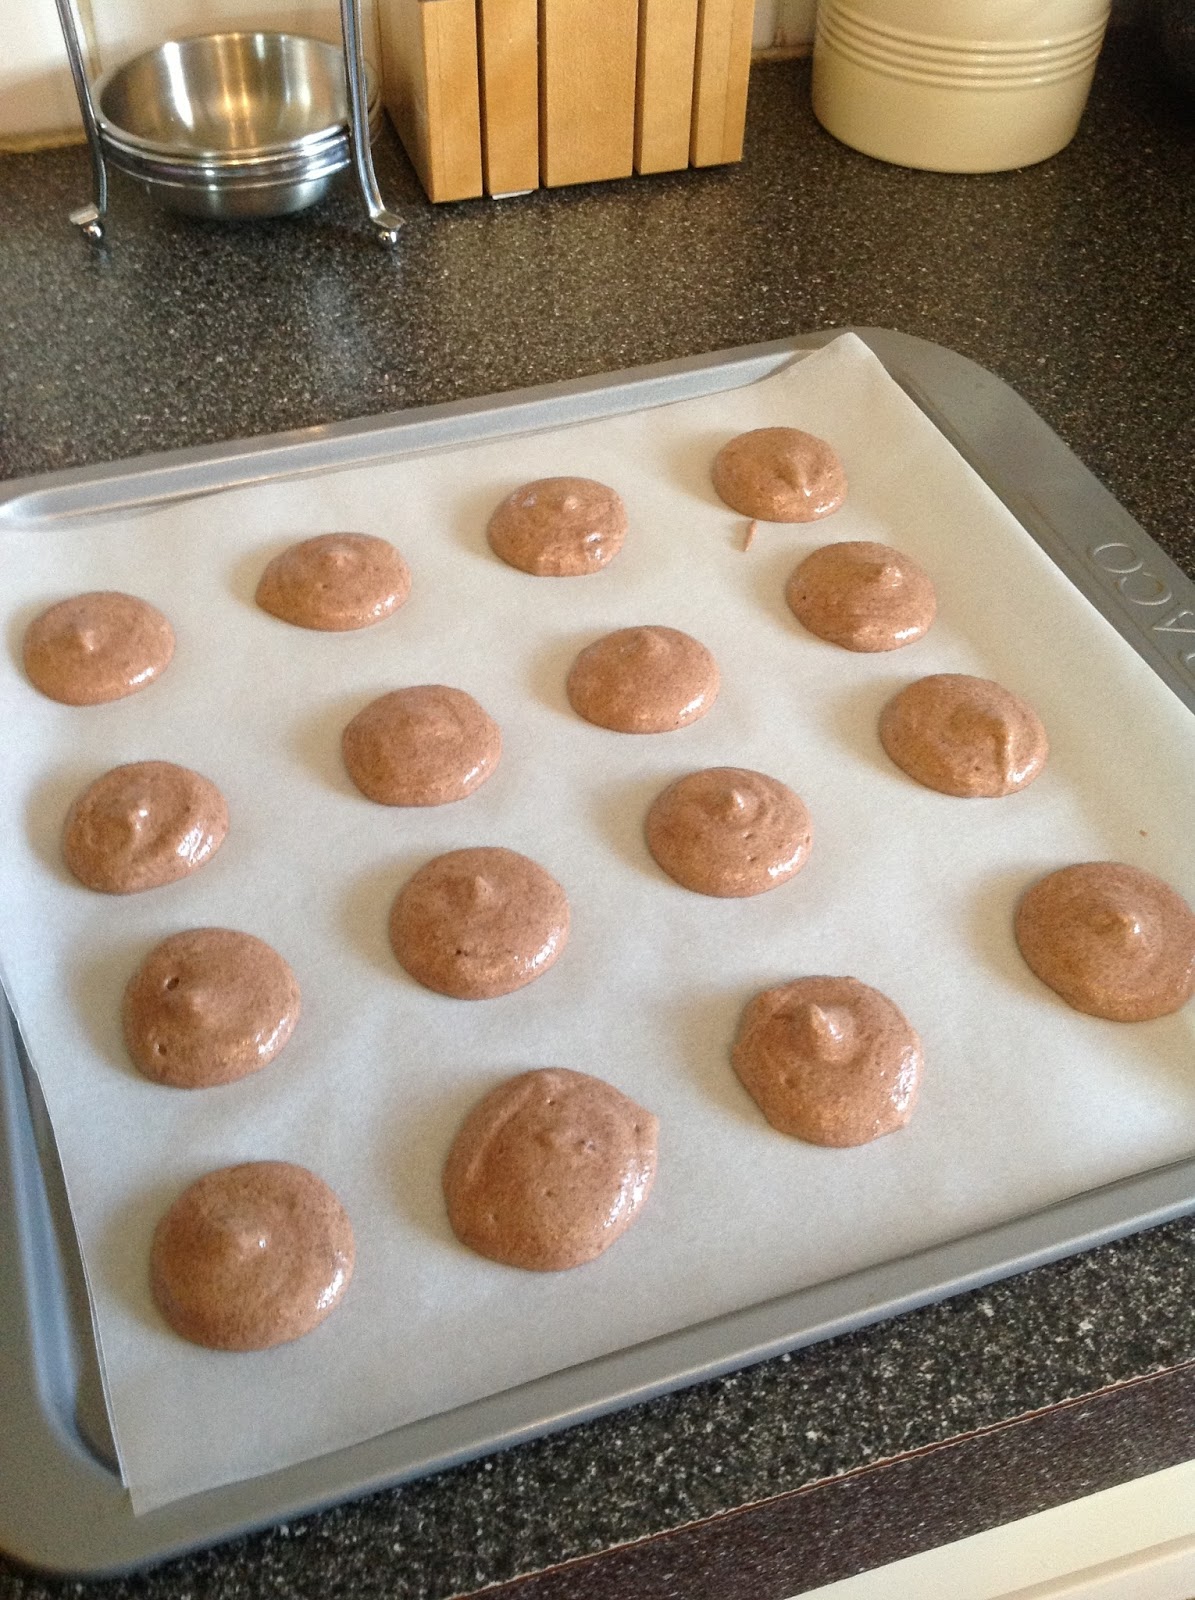
This is a skill that I have improved with each attempt.  The aim is to pipe macarons that are uniform in size and shape.  One suggestion is to draw a template of circles onto your baking paper. Once you have piped the batter out onto your lined trays, tap them against the bench four or five times really hard.  This expels any air bubbles which, if not removed may crack the surface of the biscuits.

Piping getting better!
Piping not so great


Croutage
The macarons need to be rested after they have been piped.  This allows them to dry out, creating a thin film on the surface of the macaron.  When cooked, this film becomes crisp and ensures that no cracks form in the surface.  I find that 15-30 minutes was ample time for croutage.  In order to test whether the film has formed, brush your finger gently across the surface of the macaron.  If the batter doesn't stick to your finger, they are ready.


Baking

Cooling
Baking times will vary according to your oven.  I had to buy an oven thermometer to test my oven out.  Turns out it has a hot spot in the upper right hand corner.  I compensate for this by 

1) whingeing to my husband about the crappy oven and 

2) turning the tray 180 degrees halfway through cooking time.  

Put them into a preheated oven at 150 degrees Celcius for 20 minutes.


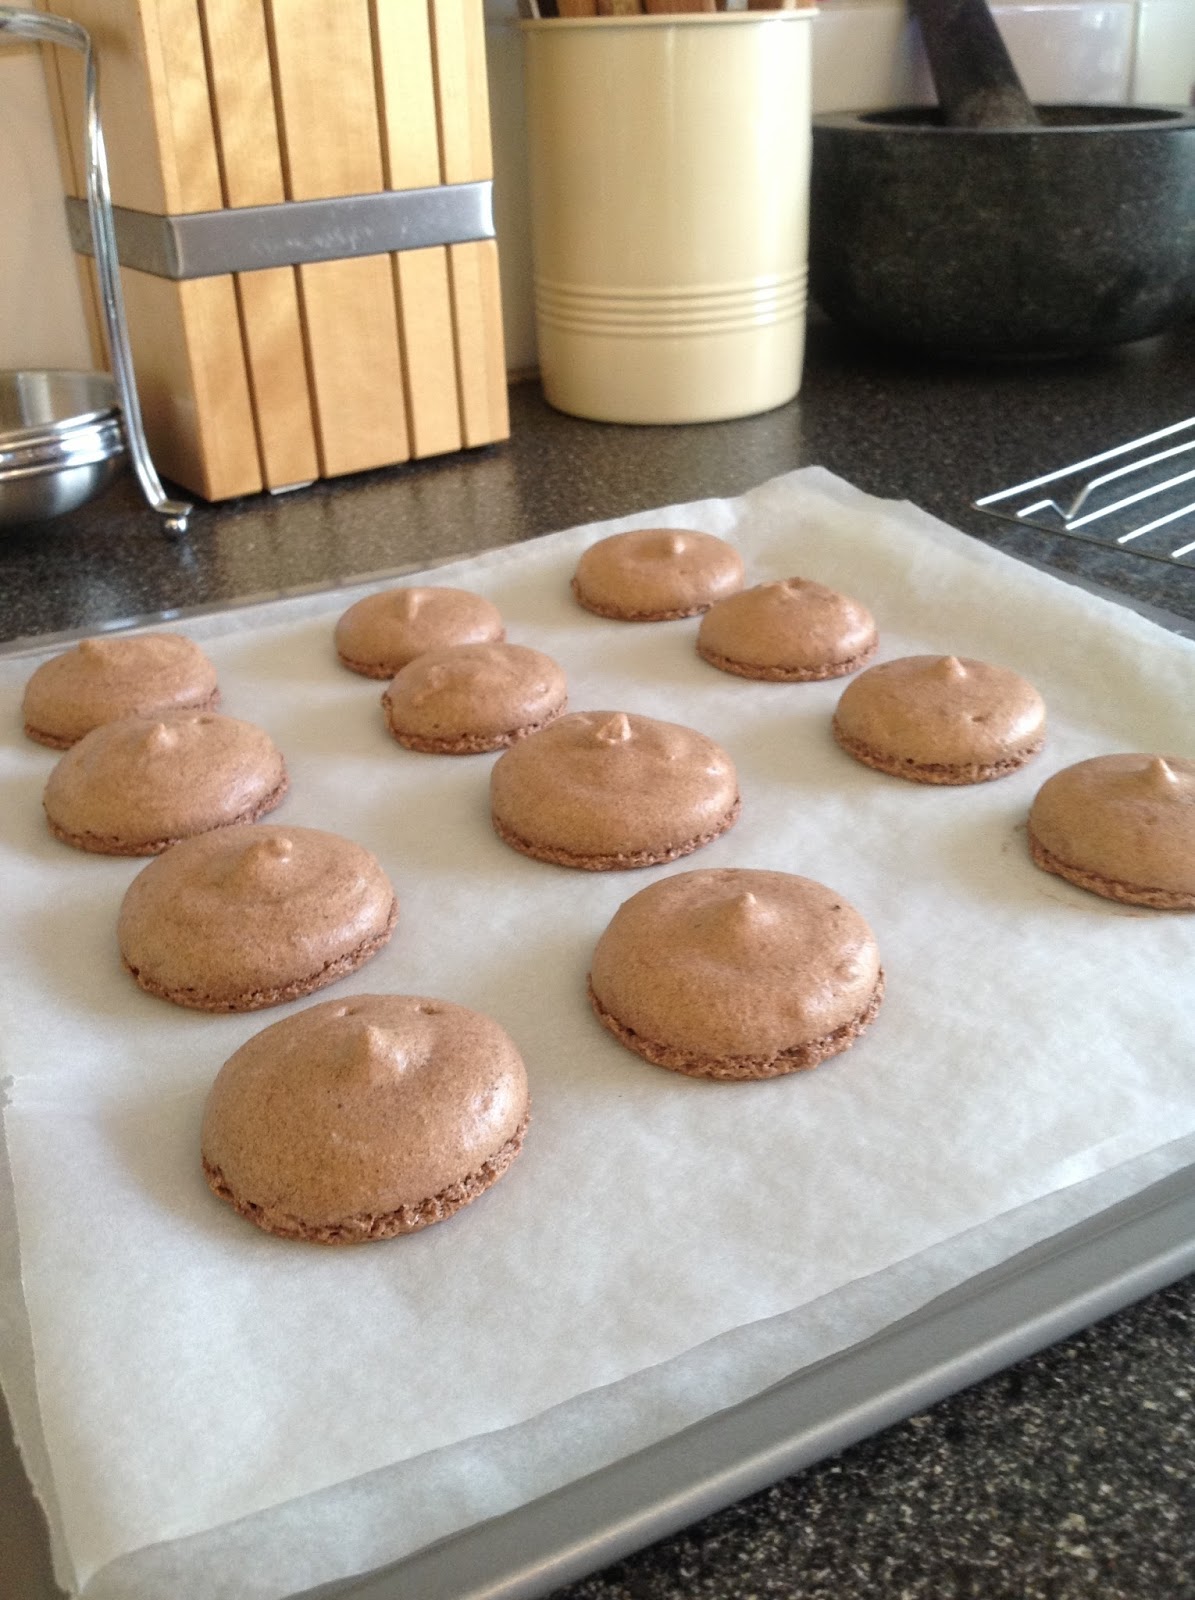
Perfect underside
Halfway through the baking time is when the feet at the base should form.  Let them cool on the tray and then slowly peel the baking paper away from the biscuit.  The base should be smooth and intact.  If they are still gooey, they haven't been baked for long enough.


 Flavoring
The options are endless.  You can add essence to the biscuits right before macronage if wet and if using dry flavourings such as cocoa powder or crushed nuts, add them into the tant pour tant after sifting.
As for the filling, the most popular is ganache.  Its smooth and creamy and can be flavoured quite easily by incorporating pureed fruit or essence whilst beating.  Butter cream is another option, but I don't like it.  Fresh fruit, jam, lemon curd, caramel...the list is endless!

 
Salted Caramel
Chocolate 
Strawberries and Cream

 Customisation

There are so many methods in which to make macarons pretty.  Crushed nuts can be sprinkled to the top of the macarons before croutage.  Chocolate drizzled over the top of filled macrons, edible shimmer powder and star dust brushed onto cooled biscuits are a few other options.
Customised Blueberry
So, give them a go.  They look so pretty and taste amazing! 

Ingredients:

150 g almond meal
230 g icing sugar
140 g egg whites
70 g caster sugar

Bake at 150 degrees C for 20 minutes